
Tire Walls: Method
-
Dismantle the vehicle and remove it’s wheels.
-
Some vehicles have metal axles which are firmly fixed into a receiver located at the back of the wheel. Carefully try to pull and twist the wheel free of the axle, if the wheel cant be removed without damaging the tyre, cut around the receiver to free the tyre.
-
If the wheel simply pulls off of the axle, ensure the receiver is trimmed back so the wheel can sit flat on the table. Cheap plastic wheels often have well textured tread but a very basic hub that can be trimmed off to taste.
-
Trim any excessive flashing and lightly distress the tread with a craft knife to create areas of wear and damage.
-
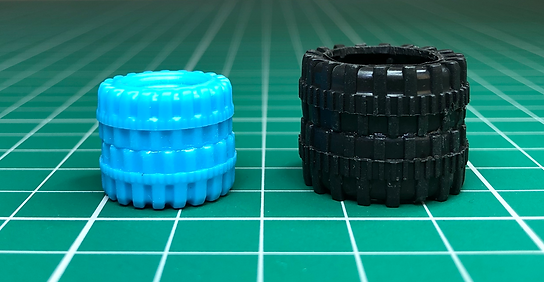
Glue two wheels back to back. Gluing 2 identical diameter wheels back to back presents an even seam to glue and fit. Apply glue to the bottom inside face of the ‘top wheel’, bringing the glue to the edge with a cocktail stick, this allows for a neat glue application on what can be a very thin contact area and creates a seam of glue to strengthen the bond.
-
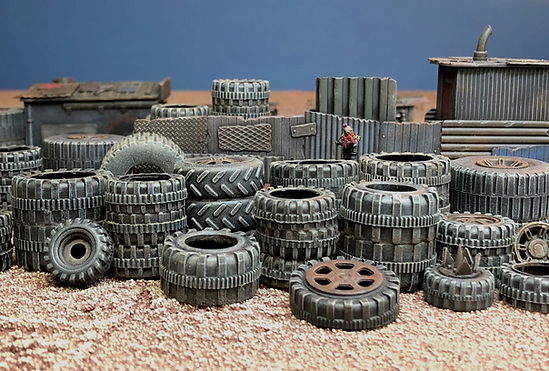
This back to back unit creates a ‘3D’ terrain piece, multiples of which can be stacked. Evenly spaced chunky tread patterns tend to interlock when stacked face to face. As the front face of the wheel presents a much broader area to register against you can offset the units at these joints to create less uniform stacks.
-
Stacks can be given a lean by adding a single wheel to the base of the stack and sanding down it’s bottom edge at an angle.
-
Stacks can be painted quickly and effectively by priming them black and dry brushing in a selection of greys to create variety, lighter greys for older tyres. The finished stacks can be weathered with inks and weathering powders for suitable grime. If the wheels are to come under close scrutiny then a coat of weathering pigment on the inside of the tyre creates a naturalistic effect.
A tyre stash doubles up as a first line of defence at this scrapper outpost.


